Rubber Egg Experiment Explained
Simple Science Experiment The Rubber Egg Metrofamily Magazine

Egg In Vinegar Experiment For Kids Little Bins For Little Hands
How To Make A Rubber Egg Babble Dabble Do
Analysis And Conclusion Ameel S Srp

10 Classic Science Experiments For Kids And Teens Student Tutor Education Blog

Cool Rubber Egg Science Experiment Hip Homeschool Moms
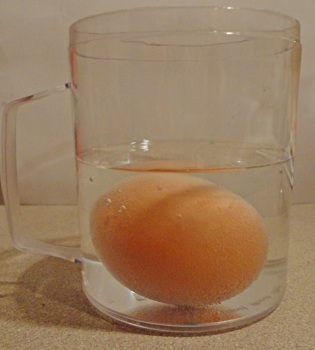
Put the glass aside so no one drinks and or spills it.
Rubber egg experiment explained.

How To Make A Rubber Egg Science Experiment Coffee Cups And Crayons

Glowy Bouncy Eggs Teacher Sheet Science Netlinks

Easy Rubber Egg Experiment Nourishing My Scholar Egg Experiments Rubber Egg Summer Science Experiments
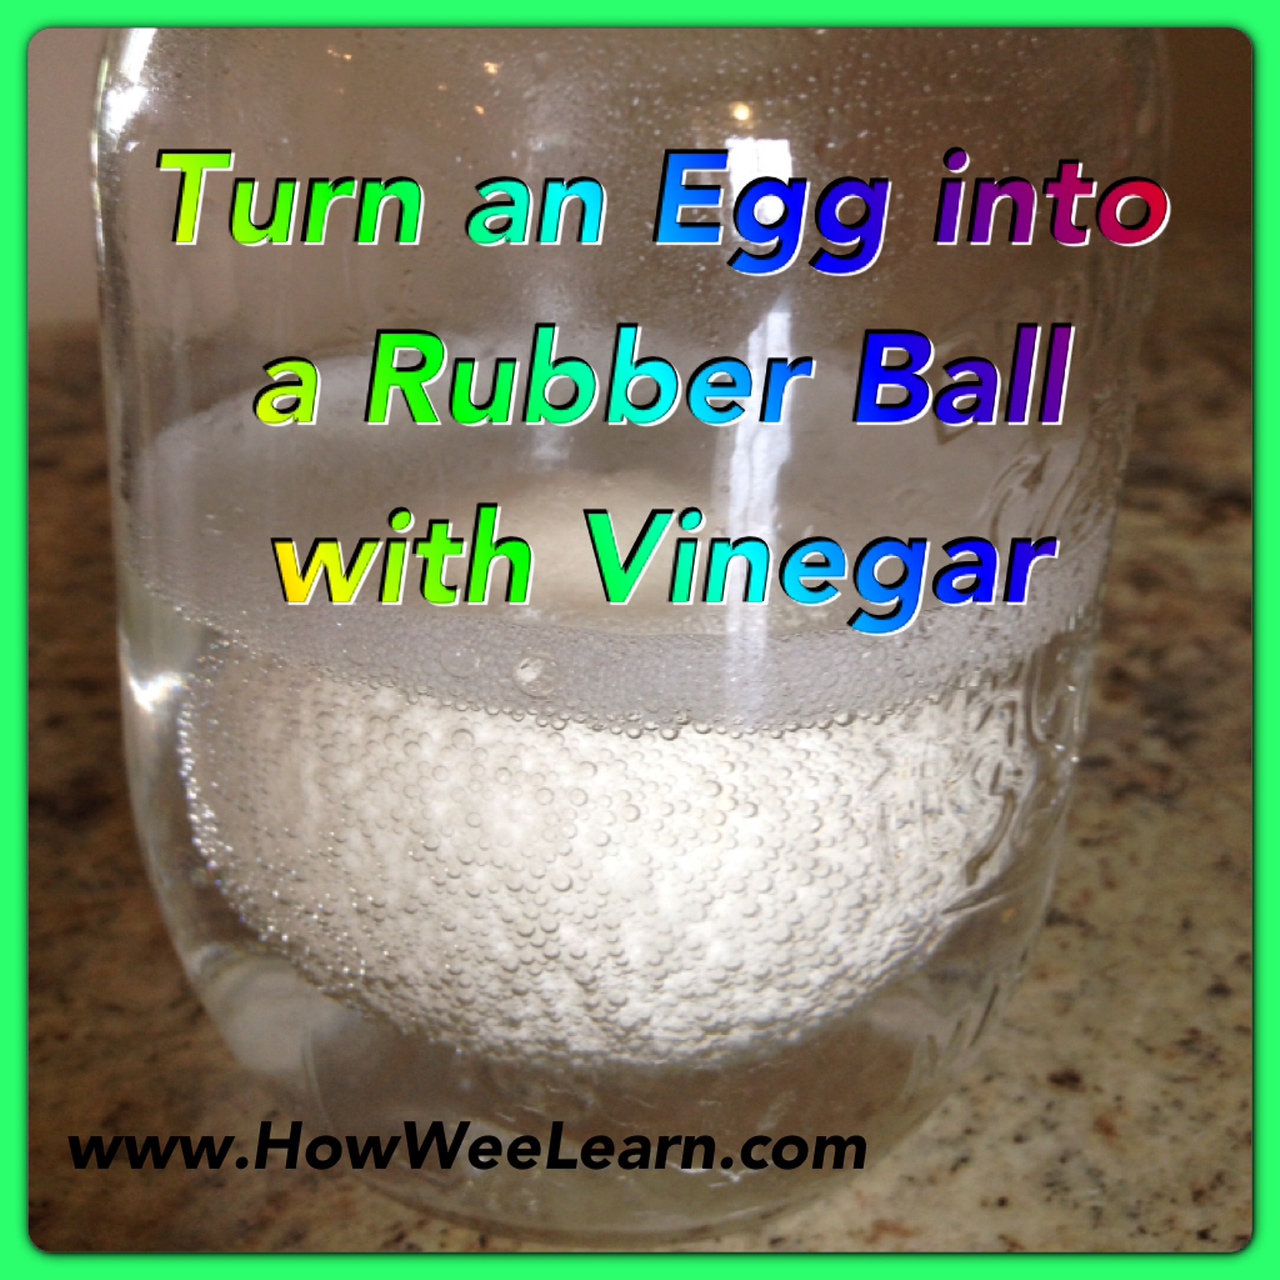
The Rubber Egg How Wee Learn
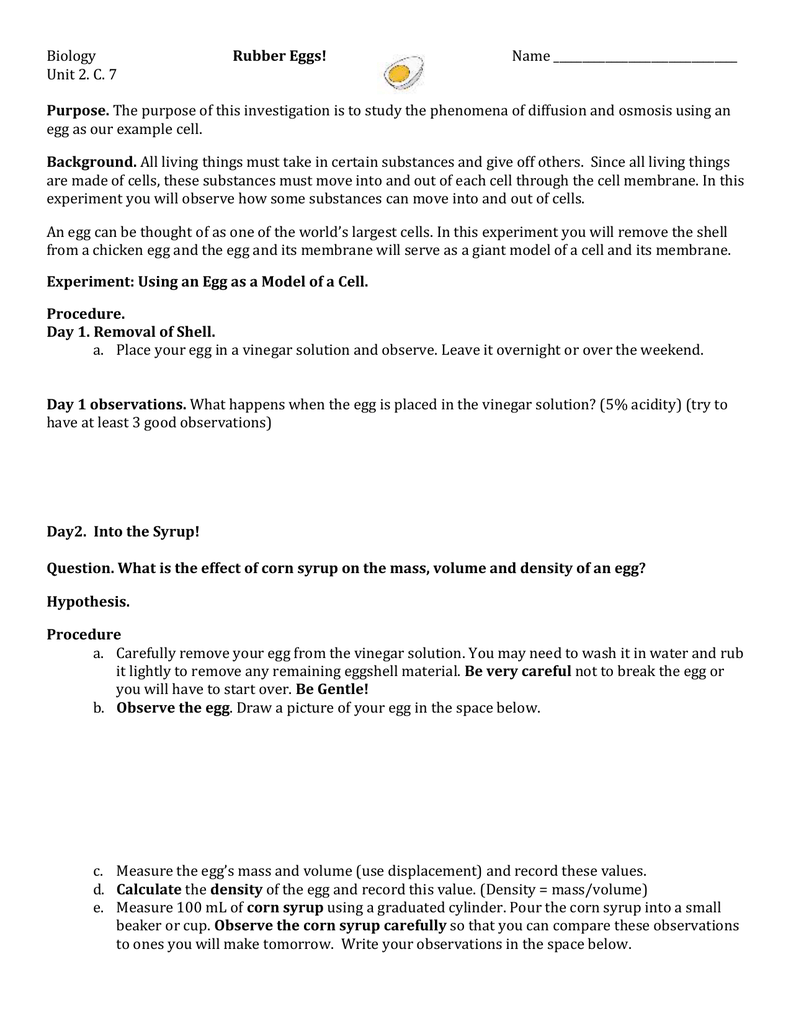
Biology Rubber Eggs

Rubber Egg Experiment Naked Egg And Vinegar Experiment

How Can You Turn A Hard Boiled Egg Into A Mound Of Fleshy Rubber Conduct This Fun Science Experim Cool Science Experiments Easy Science Experiments Rubber Egg

Pin On Science Experiments For Kids

35 Chemistry Experiments For Kids Little Bins For Little Hands
How To Make Bouncy Glowing Egg Vinegar And Egg Rubber Egg Home Experiment For Kids Youtube

Egg In Vinegar Experiment For Kids Kitchen Science Experiments Science Projects For Kids Kitchen Science
20 Fun Science Experiments With Eggs Go Science Girls
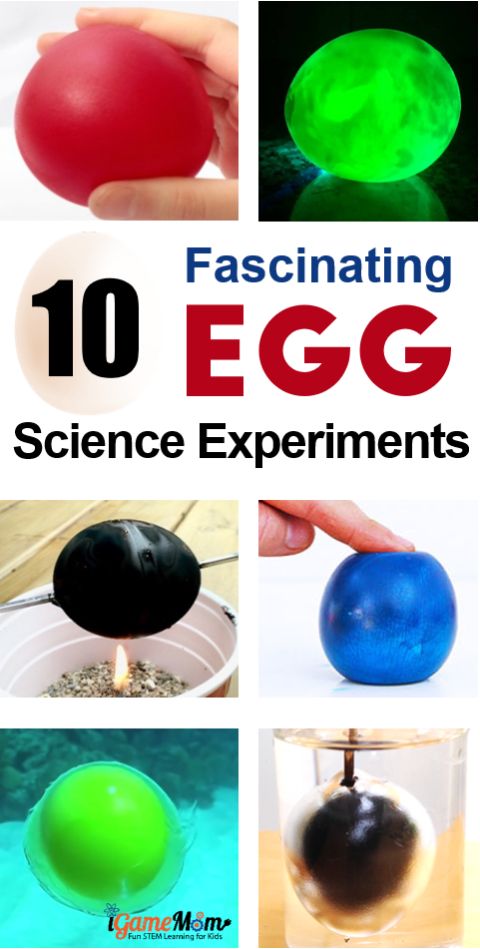
11 Fascinating Egg Science Experiments For Kids

Pin On Steam

Rainbow Egg Experiment For Kids Egg Experiments Science For Kids Kids Crafts Science

Naked Eggs Experiments Steve Spangler Science

Egg Experiments For Kids Egg Experiments Fun Experiments For Kids Science Experiments Kids

Egg In Salt Water Science Experiment Science Experiments Science Experiments Kids Kids Learning Activities
1

How To Make A Rubber Egg Experimentos Con Huevo Experimentos De Quimica Huevos En Vinagre

The Rubber Egg Science Experiments Kids Science Experiments For Preschoolers Science Experiments

Exploding Dinosaur Mud Recipe Science Experiments Kids Science Experiments Science Activities

Glowing Bouncy Egg Bouncy Egg Rubber Egg Egg In Vinegar

Rubber Egg Science Project Bouncy Egg Egg Experiments Cool Science Experiments
Source : pinterest.com
